Step-by-Step: What to Expect During the ID Scan
Step 1: Instructions & Privacy Notice
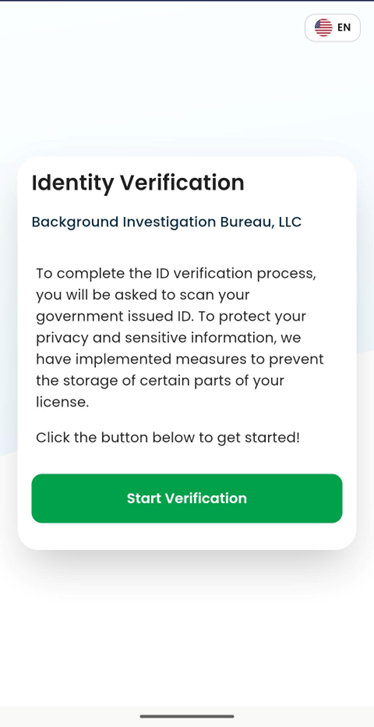 | You’ll see a quick overview of what the scan will do and how your privacy is protected. You’ll also have the option to continue in Spanish. |
Step 2: Selfie Capture
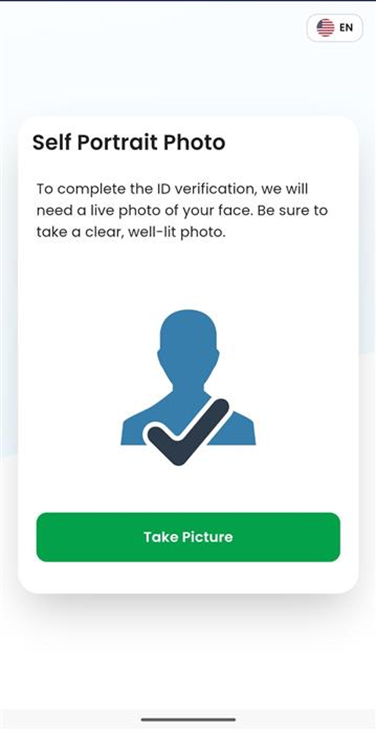 | You may be asked to take a selfie. Even if your specific background check does not use the selfie, it is still collected as part of the scan process. |
Step 3: Choose Your ID Type
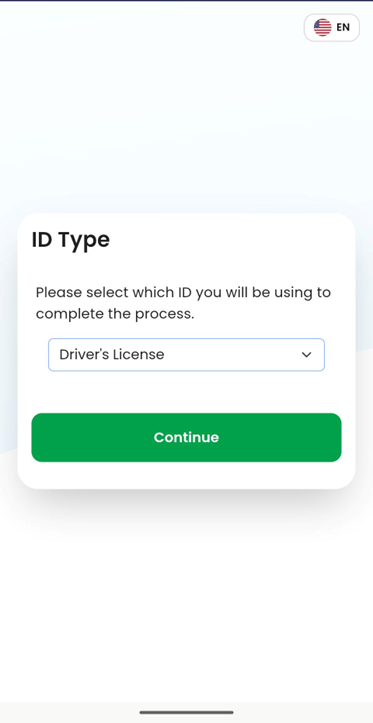 | You’ll select the type of ID you're using:
|
Step 4: Scan Your ID
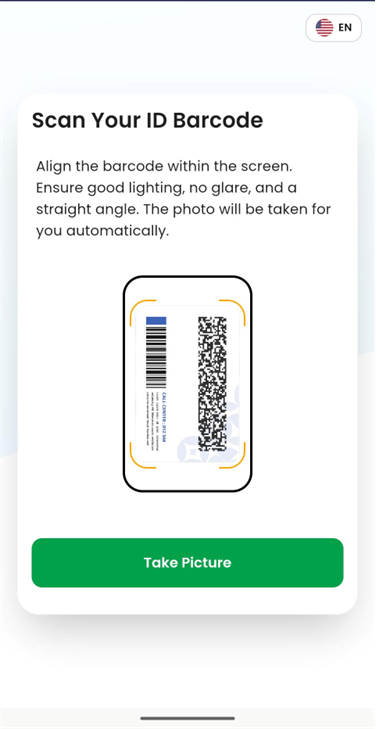 | If using a Driver’s License or State ID, you’ll be asked to scan the barcode on the back of the card.
|
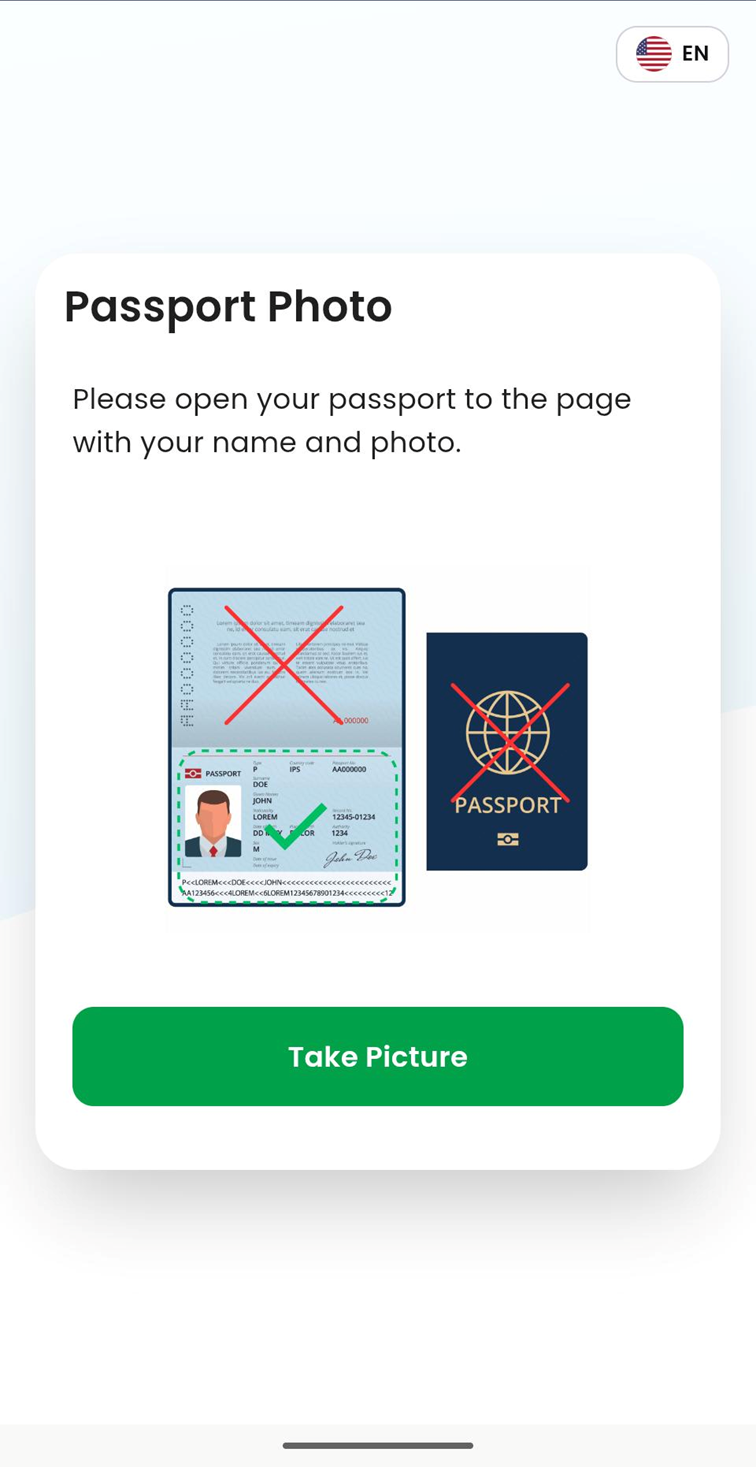 | If using a Passport, you’ll be shown instructions on what part of the passport to scan.
|
If this step goes successfully, you're all done!
Step 5: If the barcode scan fails
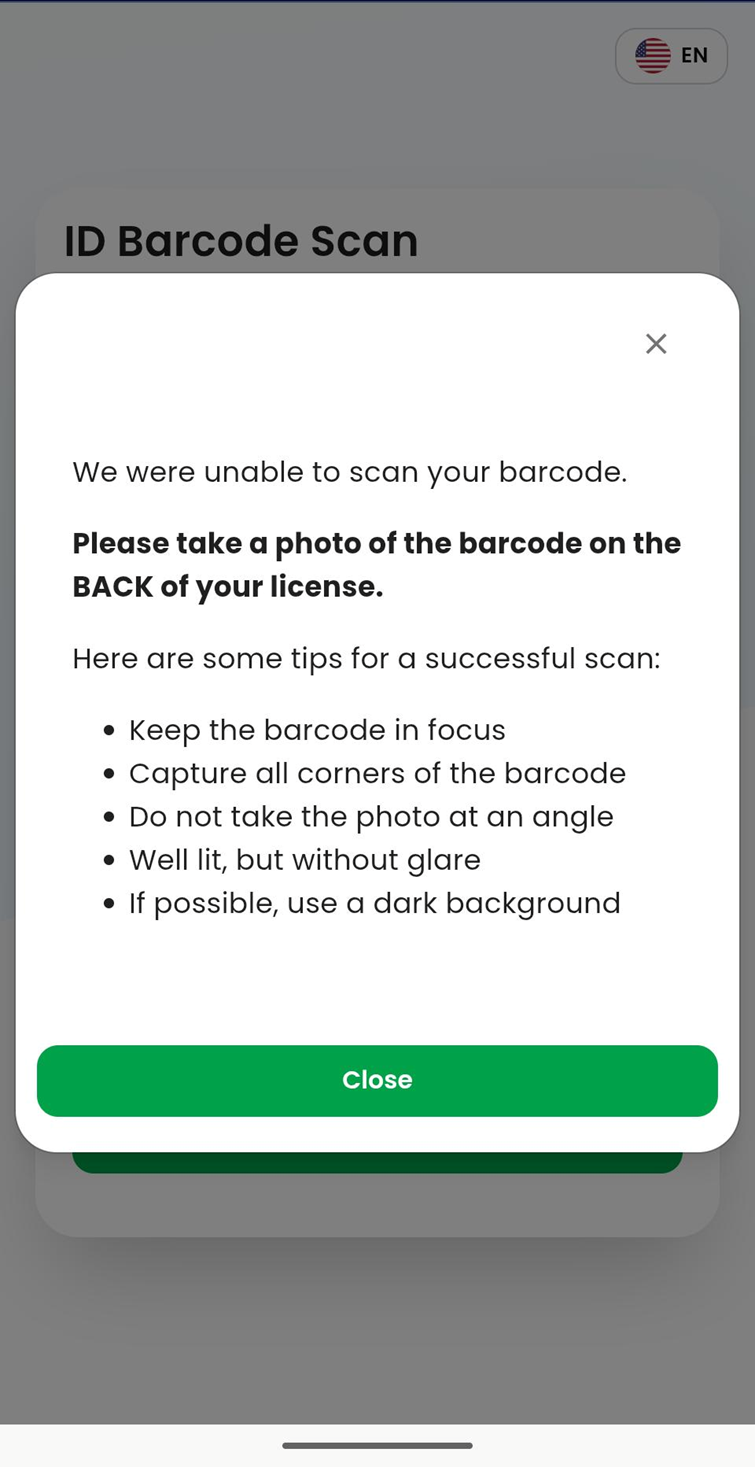 | If the system can’t read the barcode right away, you’ll see tips to help improve the scan. At this point:
|
Step 6: Front of ID (if needed)
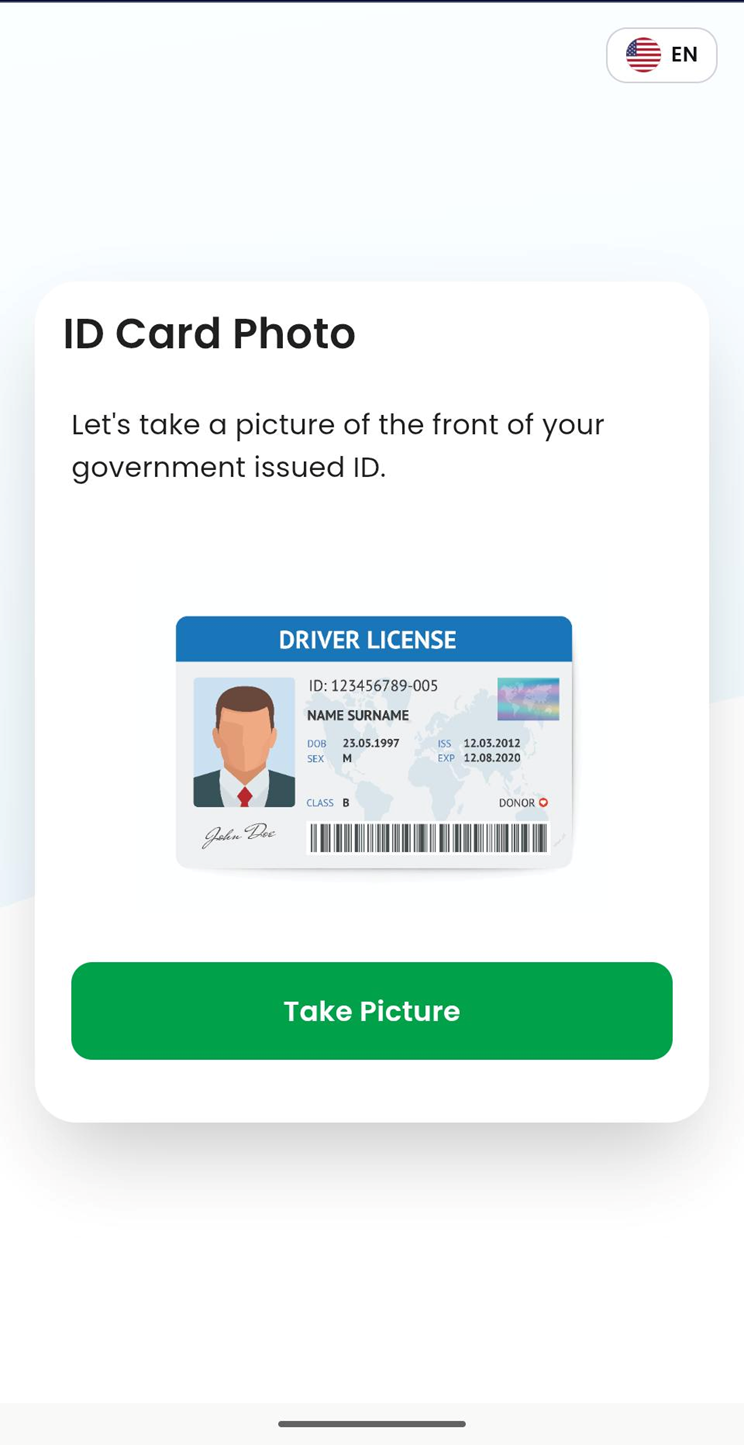 | If scanning the barcode continues to fail, the system will ask you to take a photo of the front of your ID. The system will then read the printed text to pull the correct information. |
Step 7: Review Your Information
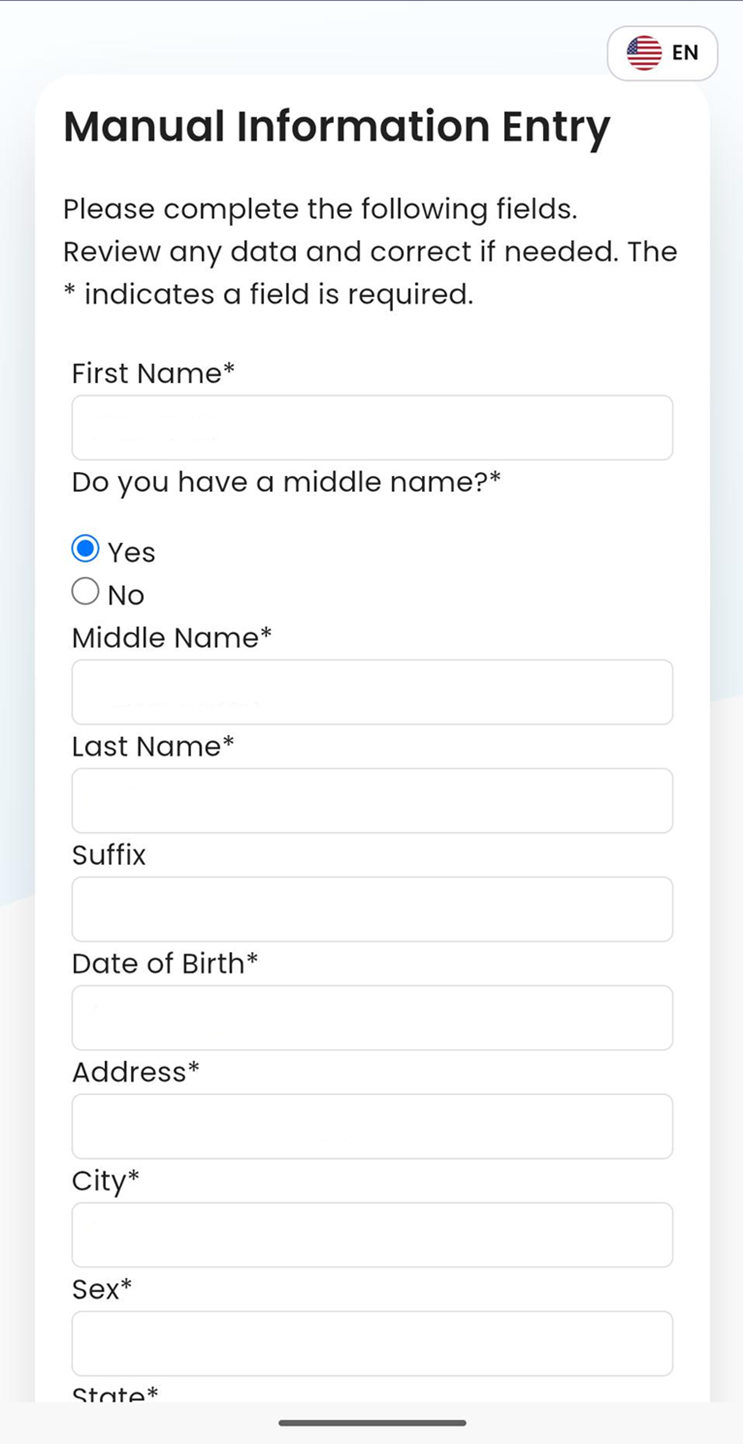 | Once the scan is complete, your information will be filled into the form. You will be asked to review everything carefully before submitting. ⚠️ Submitting incorrect information may cause:
|
Success Screen (All Done!)
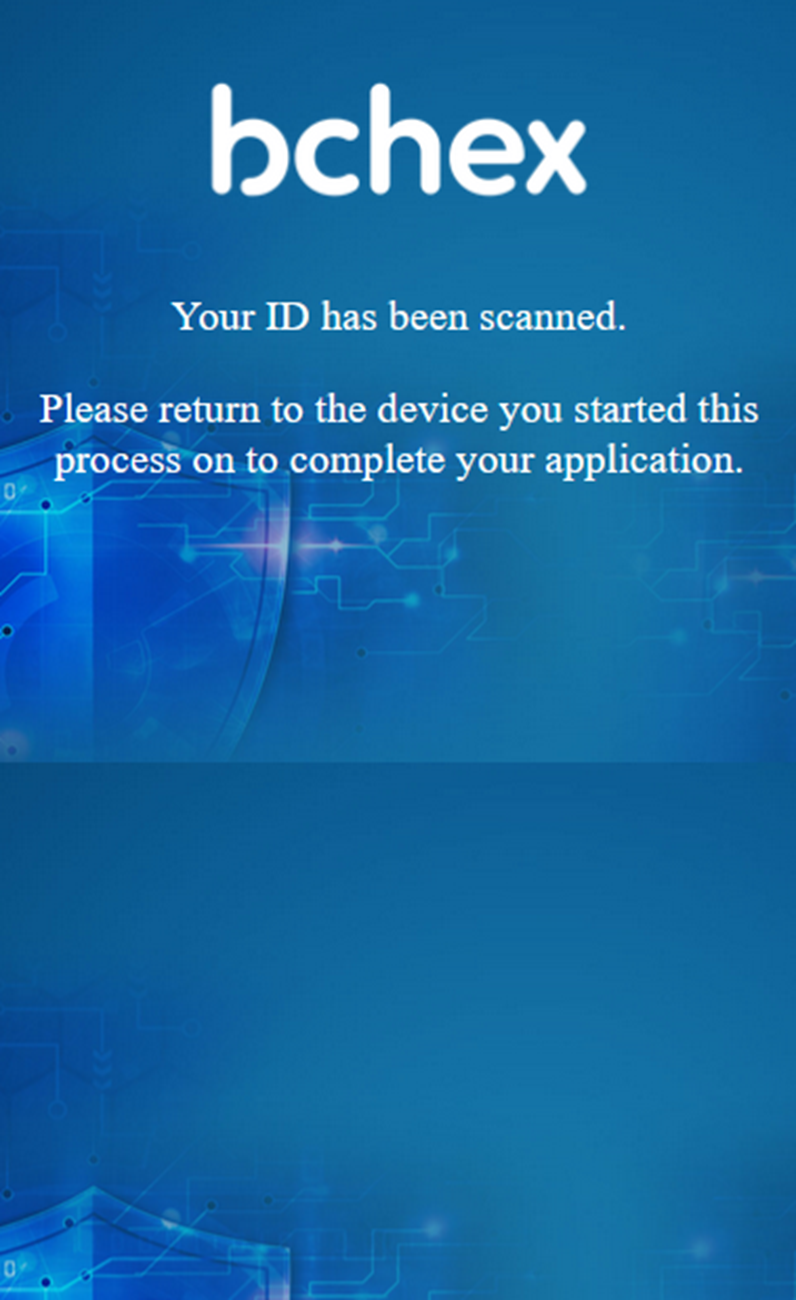 | Once complete, you’ll see a success screen.
|
What happens after the ID Scan?
After the scan, your information is sent back to the background check form automatically.
Information that is locked (cannot be edited):
Full name
Date of birth
Information that may be editable:
Address (if your ID includes one)
If you scanned a driver’s license and the form includes license fields, the system may also prefill:
Driver’s license number
Issuing state
What if the ID Scan pulled the wrong information?
If the scan captures incorrect information and you cannot edit it, the best option is usually to restart the process and try scanning again. If the issue persists, please reach out to our applicant support team at applicantinquiry@bchex.io who can provide additional options.
(Whenever possible, we recommend attempting the scan first to avoid delays.)
Will the ID Scan show on my background check?
Yes. The background check report will indicate whether an ID was scanned successfully or not.
Helpful Tips for a Successful Scan
For best results:
Use a well-lit area
Avoid glare or shadows
Hold your ID steady
Make sure the entire ID is visible in the camera frame
Clean your camera lens if the image looks blurry
Was this article helpful?
That’s Great!
Thank you for your feedback
Sorry! We couldn't be helpful
Thank you for your feedback
Feedback sent
We appreciate your effort and will try to fix the article