TABLE OF CONTENTS
- Placing a Background Check Order
- Fill Out Subject’s Information
- Verify Information
- Terms of Agreement
- Review Order
- Submit Order
- Order Confirmation
- Additional Options – Applicant Express
- Additional Options – Secure Volunteer
Placing a Background Check Order
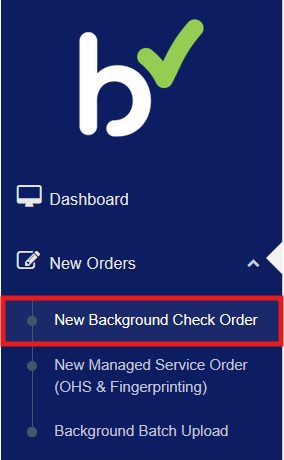
From the left navigation panel, select Orders > New Background Check Order.
Depending on your account setup and permissions, you may not see every option shown in this article.
If you have access to multiple accounts, use the Account dropdown to select the correct account.

Select the Search Option / Package you would like to order.

Fill Out Subject’s Information
Complete all required fields (required fields are marked with an *).
You may enter up to two (2) AKA names.
If more names need to be searched, a separate background check order must be submitted.
The charge for each additional alias name is listed and depends on your package settings.
When finished, click Begin Order to continue.

Verify Information
After clicking Begin Order, a verification window will appear to confirm the subject information entered.
Review the details carefully.
Once confirmed, you will not be able to edit the subject information in later steps.
If everything looks correct, click Confirm and Continue to proceed.

Terms of Agreement
Read and accept the Terms of Agreement.
Click Verify Form to move forward.

Review Order
On the final page, you’ll see an order summary. Review all details to ensure everything is accurate.
Please note:
Subject name information cannot be edited at this stage.
If you need to stop the order, select Cancel Order at the top of the page.


Search Summary
The Search Summary section performs a preliminary Address History Trace to identify relevant jurisdictions based on the applicant’s prior addresses and your package settings. These jurisdictions are automatically added to the order. A list of potential alias names will also appear below the jurisdiction list.

For each jurisdiction, the approximate turnaround time is displayed to help set expectations for report completion.
Depending on your package configuration:
Alias names may be included automatically at no additional cost and cannot be removed, or
Alias names may be presented as optional add-ons that can be selected if desired.
Some jurisdictions may be eligible for removal, while others cannot. This is determined by your package settings; however, in most cases, the jurisdiction where the applicant currently resides cannot be removed from the order.
If any court access fees apply, they will be clearly displayed in the Charge column.
If you choose to add an available alias name, the pricing shown in the Search Summary will automatically update to reflect any additional fees, if applicable:

Applicant Discrepancy Notice
While reviewing the Search Summary, you may see an Applicant Discrepancy notice displayed at the top of the section. This indicates that some of the applicant’s provided information could not be fully verified during the Address History Trace.

Common discrepancy types may include:
The applicant’s provided name was not found in the Address History Trace search
The applicant’s date of birth (DOB) was not found in the Address History Trace search
No applicant information was found in the Address History Trace search
If a discrepancy appears, it is strongly recommended that you verify the applicant’s information using a government-issued ID, such as a Driver’s License or state ID card, and confirm the accuracy of their Social Security Number before proceeding.
At this point you can cancel the order with no charge.
Additional Options
Optional items in this section include:
Selecting an option to receive an email notification when the report is complete
Uploading supporting documents related to the order
Documents can also be uploaded later from the applicant’s profile after submission.

Submit Order
If everything is correct and you are ready to place the order, click Agree and Submit.
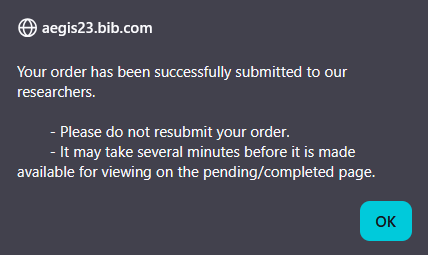
Order Confirmation
If your order is submitted successfully, a confirmation message will appear. Click OK to return to the New Order screen.
Additional Options – Applicant Express
If your account uses Applicant Express, you may see an option to email the request to the applicant instead of entering all subject details manually.
Follow the on-screen prompt to send the request to the applicant.
For more details, refer to the Applicant Express Guide.
You may also switch back to Manual Entry at any time by selecting the button at the top of the page.

Additional Options – Secure Volunteer
If your account uses Secure Volunteer or Secure Applicant, and the package selected is linked to that product, you may have the option to submit the order as a Secure Volunteer/Secure Applicant request.
This option allows the applicant to receive a volunteer card and expiration date—similar to submitting through the portal.

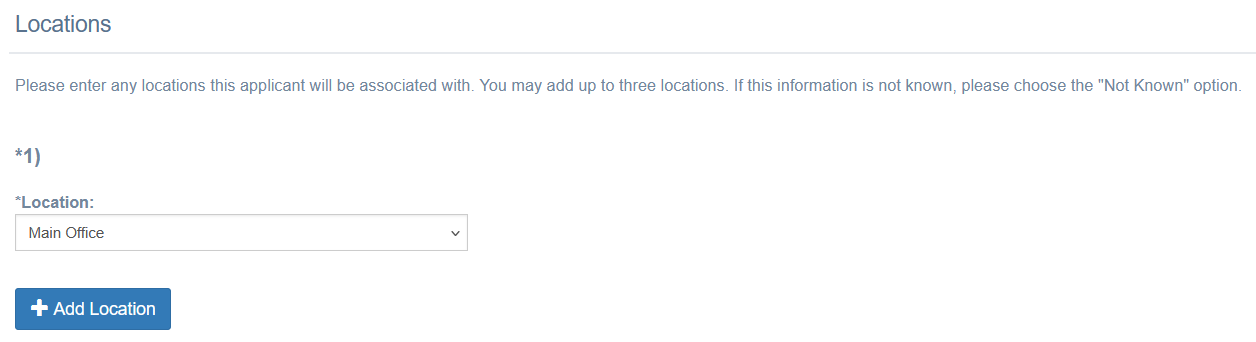
During the order process you will be asked for the location the order is associated with:
You will also be responsible for collecting the applicant’s signed authorization for the background check:

You have two options at the end of the application:
- Agree and Submit – The application will be completed and appear in the “Requests” section of Aegis.
- Agree, Submit & Approve – The application bypasses the “Requests” tab and goes straight into background check processing.

Was this article helpful?
That’s Great!
Thank you for your feedback
Sorry! We couldn't be helpful
Thank you for your feedback
Feedback sent
We appreciate your effort and will try to fix the article